Computer Networking
If you have a good stable internet connection with ethernet connectivity near raspberry and a power backup you are good to Go.
Type: sudo apt install rpi-imager
After installing, open the Raspberry Pi imager you just installed and select the OS in the Selection to Raspberry Pi OS (other)> Raspberry Pi OS lite 32 bit. Now in the Storage Select the SD Card where you want to load the image.
Then Click on Settings icon and enable ssh and set a password yet set a strong and unforgettable password (Don't Forget)
Then press write.
The card gets ejected and many Pop ups may pop but remove SD-card only after the prompt displays writing complete.
After Some time Terminal stops at login
Default login id :pi
Pasword: which you set while installing
After logging in type following command in order:
In If config you will get a (Inet4 Circled in Image) address that is Ip address Note it down This address can be used to login remotely/virtualized login using SSH (We Dont need now)
To change this type : sudo raspi-config
Select localization options>Dell>other>us layout>ok>ok>ok>ok
Now the "|" works
Now Enter the Following command the command is completely case sensitive and space sensitive.
This command is to install the NAS Software in this case we are using open source software Open Media Vault.
Type: sudo wget -O -https://raw-githubusercontent.com/OpenMediaVault-Plugin-Developers/installScript/master/install | sudo bash
After this installation there is a change that the IP address allocated to you through the DHCP for your Ethernet Connection May Change.
So Again
Type: ifconfig
Note Down inet4 address
Now server software has been successfully installed.
Now Let's mount the Disk i.e Hardisk/SSD/SD/Pendrive to the Network Server.
Type the network ip Address Noted in any Device in Chrome(Note:The Device Must be connected to the network)
Now You will be Prompted with the Login Id and Password of OpenMediaVault.
Login: admin
Password: openmediavault
Now in General Settings Change the Password of the Web Administrator because you dont want anonymous to login onto your NAS network.
Now Please Plugin the Storage Drive into the Raspberry Pi In the side menu you can see the storage,In the drop Down menu you should select Disks.
Check weather your disk being showing up there.
If the Device is being shown here. Please move on to the File Systems in the drop down menu of Storage itself.
Select the your external Disk and Click on Mount.
Now Go into the Access Rights Management drop down menu and select the Shared Folders.
Now Create a shared folder in this by clicking add and select the external storage device.Give Permissions which you like to give the accessing users. Click on apply to apply all the changes.
Now you need to configure on how to access the files
Now, Lets see how to enable samba and also access the server with your desktop.
Now to Add to windows Go to Windows This PC then right click and select add Network Location.
You need to type the network address i.e \\"your raspberry Ip address"\"shared Folder name"
It will be prompting for the password and Username.
Type the Username:pi
Password:You need to set this in the users department of the access rights department of the open media server web page.
After Logging in we can upload and also access the files using this network location on any device Connected to the Network. Enjoy the personal Internal Server Storage
Credits : Network Chuck
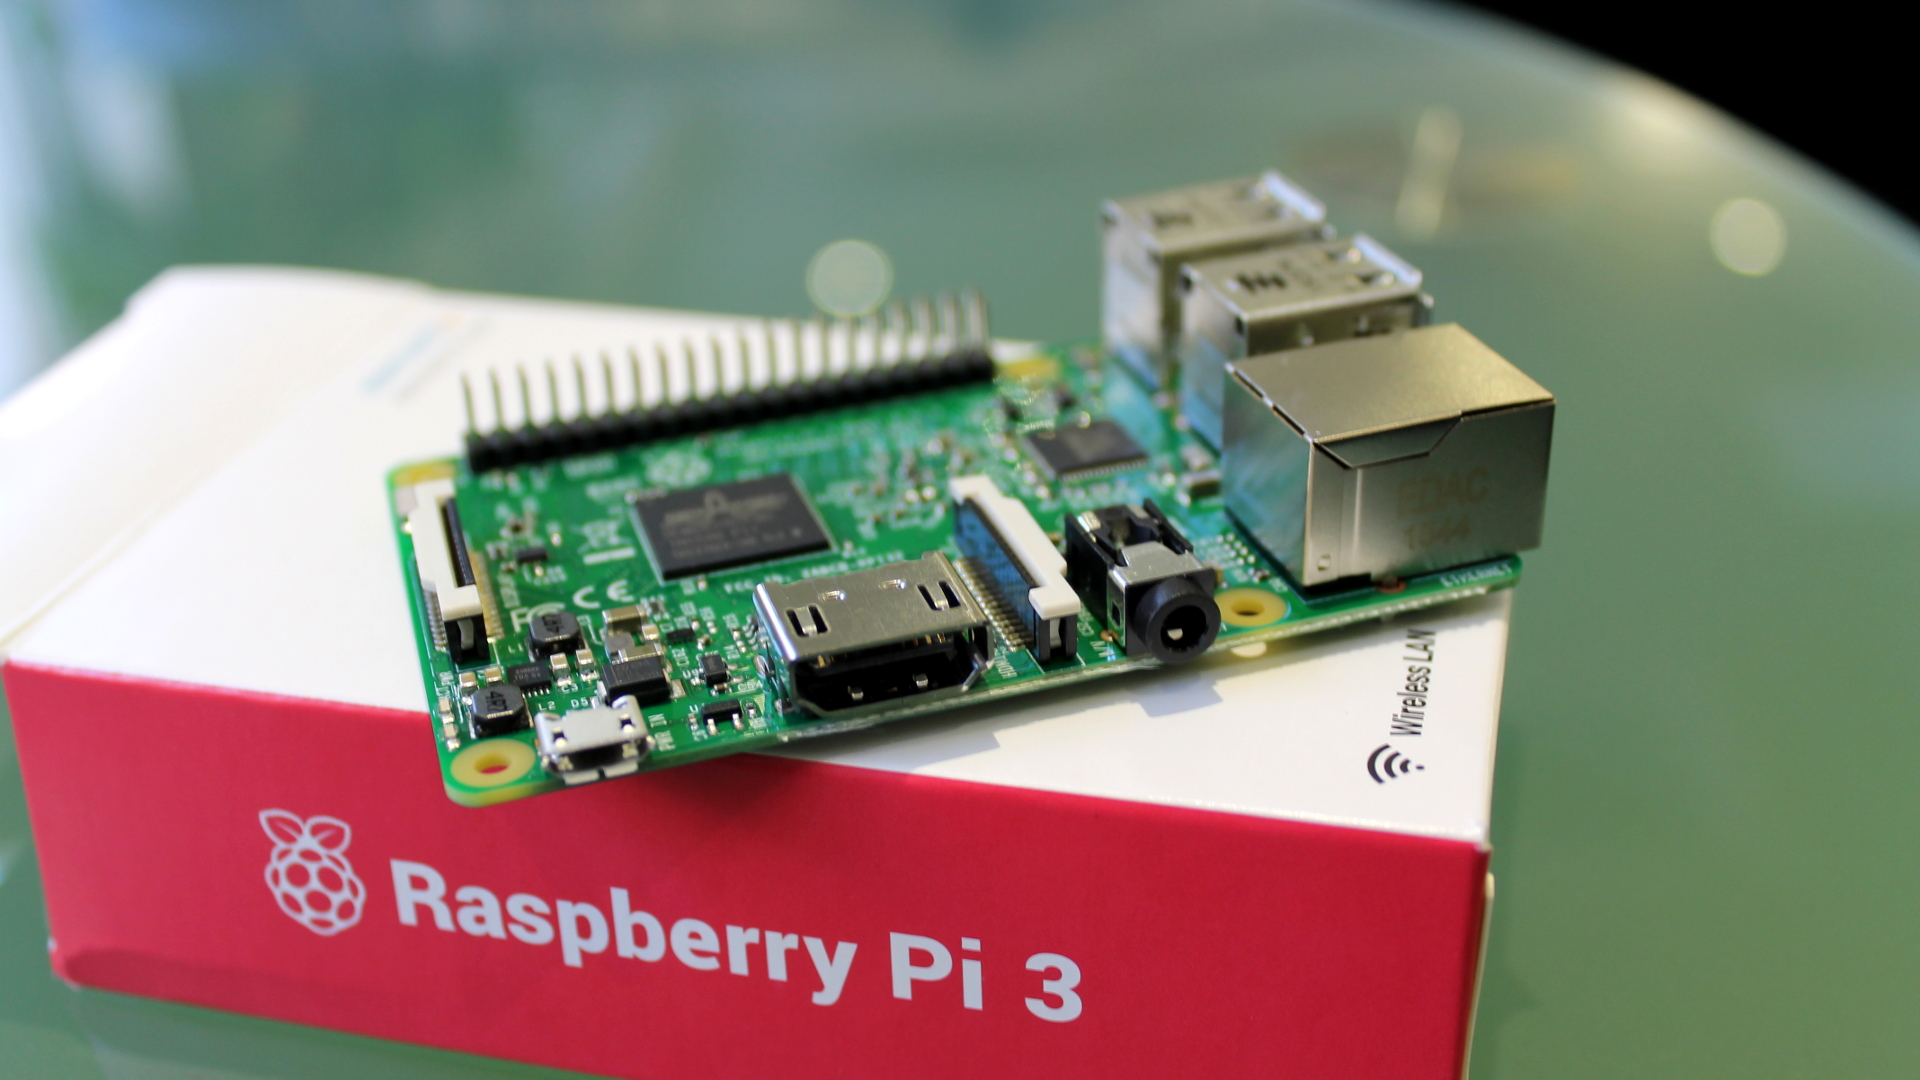
NAS Server - Raspberry Pi
Things Required:
- Raspberry pi 3 or above
- Ethernet cable and connection
- Power supply for Raspberry
- External monitor
- Laptop
- Keyboard for Raspberry Pi
- Harddisk (For Storage)
- Memory Card(Completely Empty) for Raspberry Pi Software (Image)
Note:
While I made this project I was in college and my college is having a corporate wifi connection with MSCHAP V2 authentication connection. So if anyone is in college with the Connection of wifi please avoid this method because this can lead to waste of your time as the wifi Router can continuously disconnect and also most of the installation will not be processed by the college Wifi. Please get a normal ethernet connection.If you have a good stable internet connection with ethernet connectivity near raspberry and a power backup you are good to Go.
Start:
First load the memory card into laptop. Download the Raspberry Pi imager from Raspberry Website if you are having linux justType: sudo apt install rpi-imager
After installing, open the Raspberry Pi imager you just installed and select the OS in the Selection to Raspberry Pi OS (other)> Raspberry Pi OS lite 32 bit. Now in the Storage Select the SD Card where you want to load the image.
Then Click on Settings icon and enable ssh and set a password yet set a strong and unforgettable password (Don't Forget)
Then press write.
The card gets ejected and many Pop ups may pop but remove SD-card only after the prompt displays writing complete.
It's time to Boot the Machine(Raspberry Pi) Up
Steps to Follow now to get into Terminal:- Connect the Ethernet Cable from Router to Raspberry Pi
- Connect to a External monitor with HDMI
- Connect to a power Supply
- Insert the SD card
- Connect the Keyboard(No need of mouse as the mouse dont work in Terminal)
After Some time Terminal stops at login
Default login id :pi
Pasword: which you set while installing
After logging in type following command in order:
- sudo apt update
- sudo apt upgrade
- ifconfig
In If config you will get a (Inet4 Circled in Image) address that is Ip address Note it down This address can be used to login remotely/virtualized login using SSH (We Dont need now)
Note:
You may not be Able to enter ”|” (next command will be needing this sign) The Raspberry Pi is default configured to UK keyboardTo change this type : sudo raspi-config
Select localization options>Dell>other>us layout>ok>ok>ok>ok
Now the "|" works
Now Enter the Following command the command is completely case sensitive and space sensitive.
This command is to install the NAS Software in this case we are using open source software Open Media Vault.
Type: sudo wget -O -https://raw-githubusercontent.com/OpenMediaVault-Plugin-Developers/installScript/master/install | sudo bash
After this installation there is a change that the IP address allocated to you through the DHCP for your Ethernet Connection May Change.
So Again
Type: ifconfig
Note Down inet4 address
Now server software has been successfully installed.
Now Let's mount the Disk i.e Hardisk/SSD/SD/Pendrive to the Network Server.
Type the network ip Address Noted in any Device in Chrome(Note:The Device Must be connected to the network)
Now You will be Prompted with the Login Id and Password of OpenMediaVault.
Login: admin
Password: openmediavault
Now in General Settings Change the Password of the Web Administrator because you dont want anonymous to login onto your NAS network.
Now Please Plugin the Storage Drive into the Raspberry Pi In the side menu you can see the storage,In the drop Down menu you should select Disks.
Check weather your disk being showing up there.
If the Device is being shown here. Please move on to the File Systems in the drop down menu of Storage itself.
Select the your external Disk and Click on Mount.
Note:
In This page nothing is saved until you click on the apply button on the top bar.Now Go into the Access Rights Management drop down menu and select the Shared Folders.
Now Create a shared folder in this by clicking add and select the external storage device.Give Permissions which you like to give the accessing users. Click on apply to apply all the changes.
Now you need to configure on how to access the files
- NFS-linux/Mac
- Windows-SMB(Samba)
Now, Lets see how to enable samba and also access the server with your desktop.
- Click on enable to enable samba
- Click on shares and create the share using add Button.Don't Forget to mention the correct external device.
- After everything is done you need to click on apply changes it should apply without any errors.
Now to Add to windows Go to Windows This PC then right click and select add Network Location.
You need to type the network address i.e \\"your raspberry Ip address"\"shared Folder name"
It will be prompting for the password and Username.
Type the Username:pi
Password:You need to set this in the users department of the access rights department of the open media server web page.
After Logging in we can upload and also access the files using this network location on any device Connected to the Network. Enjoy the personal Internal Server Storage
Credits : Network Chuck
Your comment